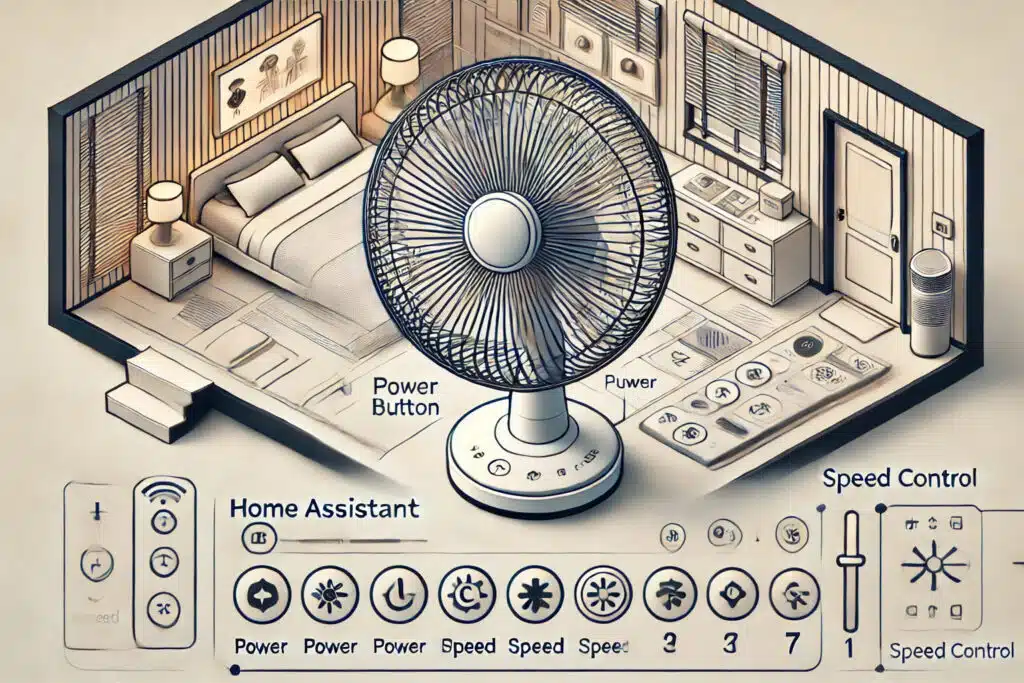
在還沒開始使用Home Assistant之前,主臥室擺了一台可遙控的聲寶電扇SK-FB18DR,遙控器上只有電源開關、風速+、風速-及定時四顆按鍵,印象中當時是靠surco在做控制。它總共有七段風速,每次啟動時預設在第四段,要開最強就要按三次風速+、反之最弱就要按三次風速-,也沒什麼問題。
開始使用Home Assistant之後,紅外線遙控器的裝置更換為Broadlink RM4C,Home Assistant透過Broadlink RM4C去控制電風扇,Broadlink RM4C學習電源開關、風速+及風速-三顆按鍵,依然是靠按幾下風速鍵來控制風速的這個邏輯。
但不應該這麼笨,為什麼我不能指定風速就好?思路如下
- 給二個input_number對應「目標風速」與「現在風速」,利用啟動風速為4的特性,在啟動時將這二個數字設為4。
- 在電扇在運轉的狀態下,如果「目標風速」與「現在風速」不相等,就做出|目標風速-現在風速|次的風速+或風速-的指令。
這樣使用者只要在Home Assistant的介面上按下指定的風速,就可以直接調整。做法如下
電源監控
風扇電源插上小米Zigbee智慧插座ZNCZ03LM,它的功率監控回報很即時且可以當成Zigbee repeater使用,是一個很好用但已經絕版的設備。利用一條input_select與二條automation來監控風扇功率來改寫風扇運行的狀態,當智慧插座的電源為啟動且功率大於3W時為「運轉中」,反之為「閒置中」,當智慧插座的電源為關閉時則為「關閉」。
Input_select
bedroom2f_fan_condition:
  name: Bedroom2F_Fan_Condition
  options:
    - 運轉中
    - 閒置中
    - 關閉
Automation
- alias: Device:Bedroom2F_Fan(SwitchOnCondition)
  triggers:
    - trigger: numeric_state
      entity_id: sensor.bedroom2f_fan_plug_power
      below: 3
    - trigger: numeric_state
      entity_id: sensor.bedroom2f_fan_plug_power
      above: 3
  conditions:
    - condition: state
      entity_id: switch.bedroom2f_fan_plug_switch
      state: "on"
  actions:
    - action: input_select.select_option
      data:
        entity_id: input_select.bedroom2f_fan_condition
        option: >
          {% if trigger.to_state.state | float >= 3 %}
            運轉中
          {% else %}
            閒置中
          {% endif %}
  mode: queued

- alias: Device:Bedroom2F_Fan(SwitchCondition)
  triggers:
    - trigger: state
      entity_id: switch.bedroom2f_fan_plug_switch
  actions:
    - action: input_select.select_option
      data:
        entity_id: input_select.bedroom2f_fan_condition
        option: >
          {% if trigger.to_state.state == 'on' %}
            閒置中
          {% else %}
            關閉
          {% endif %}
  mode: queued
風速調整
先給二條input_number來表示風速,這台電扇的風速有七個檔位。
bedroom2f_fan_current_speed:
  name: Bedroom2F_Fan_Current_Speed
  min: 1
  max: 7
  step: 1
bedroom2f_fan_target_speed:
  name: Bedroom2F_Fan_Target_Speed
  min: 1
  max: 7
  step: 1
在automation中,如果電扇從「閒置中」變為「運轉中」時,將二個風速數字都設為4。
- alias: Device:Bedroom2F_Fan_Speed_When_On
  triggers:
    - trigger: state
      entity_id: input_select.bedroom2f_fan_condition
      from: 閒置中
      to: 運轉中
  actions:
    - action: input_number.set_value
      data:
        entity_id:
          - input_number.bedroom2f_fan_current_speed
          - input_number.bedroom2f_fan_target_speed
        value: 4
在automation中,監控「目標風速」,在「目標風速」改變且與「現在風速」不相等時觸發這個automation,利用repeat去做風速+或風速-的動作,並增加或減少一個檔位的「現在風速」,直到「目標風速」與「現在風速」相等automation才會停止。
- alias: Device:Bedroom2F_Fan_Speed_Adjust
  triggers:
    - trigger: state
      entity_id: input_number.bedroom2f_fan_target_speed
  conditions:
    - condition: template
      value_template: "{{ states('input_number.bedroom2f_fan_target_speed') | int != states('input_number.bedroom2f_fan_current_speed') | int }}"
  actions:
    - alias: repeat
      repeat:
        while:
          - condition: template
            value_template: "{{ states('input_number.bedroom2f_fan_target_speed') | int != states('input_number.bedroom2f_fan_current_speed') | int }}"
        sequence:
          - action: remote.send_command
            data:
              entity_id: remote.bedroom2f_remote
              device: bedroom2f_fan
              command: >
                {% if states('input_number.bedroom2f_fan_target_speed') | int > states('input_number.bedroom2f_fan_current_speed') | int %}
                  speed_up
                {% else %}
                  speed_down
                {% endif %}
          - action: input_number.{% if states('input_number.bedroom2f_fan_target_speed') | int > states('input_number.bedroom2f_fan_current_speed') | int %}increment{% else %}decrement{% endif %}
            target:
              entity_id: input_number.bedroom2f_fan_current_speed
            data: {}
          - delay:
              seconds: 1
操作介面
利用custom:button-card做一個簡單的介面,一個電源按鈕與七個風速按鈕。
先給一個custom:button-card的template日後會比較好維護
button_card_templates:
  fan_speed_button:
    aspect_ratio: 1/1
    color_type: icon
    layout: vertical
    show_label: false
    show_name: false
    show_state: false
    styles:
      card:
        - padding: 3%
        - font-size: 12px
        - outline: Gainsboro solid 1px
        - background: |
            [[[
              if (entity.state >= variables.speed_value && states['input_select.bedroom2f_fan_condition'].state == '運轉中') return 'PaleGreen';
            ]]]
      icon:
        - width: 60%
        - color: rgb(150,100,50)
八個按鈕的程式碼如下,每一個風速的按鈕都有一個對應的風速,按下去後就會將「目標風速」的input_number改成對應風速,這時就會觸發automation去做自動風扇的調整。
type: custom:vertical-stack-in-card
horizontal: true
cards:
  - type: custom:button-card
    entity: remote.bedroom2f_remote
    icon: mdi:power
    template: fan_speed_button
    styles:
      card:
        - background: AntiqueWhite
    tap_action:
      action: call-service
      service: remote.send_command
      service_data:
        entity_id: remote.bedroom2f_remote
        command: power
        device: bedroom2f_fan
  - type: custom:button-card
    entity: input_number.bedroom2f_fan_current_speed
    icon: mdi:numeric-1
    template: fan_speed_button
    variables:
      speed_value: 1
    tap_action:
      action: call-service
      service: input_number.set_value
      service_data:
        entity_id: input_number.bedroom2f_fan_target_speed
        value: "[[[ return variables.speed_value; ]]]"
  - type: custom:button-card
    entity: input_number.bedroom2f_fan_current_speed
    icon: mdi:numeric-2
    template: fan_speed_button
    variables:
      speed_value: 2
    tap_action:
      action: call-service
      service: input_number.set_value
      service_data:
        entity_id: input_number.bedroom2f_fan_target_speed
        value: "[[[ return variables.speed_value; ]]]"
  - type: custom:button-card
    entity: input_number.bedroom2f_fan_current_speed
    icon: mdi:numeric-3
    template: fan_speed_button
    variables:
      speed_value: 3
    tap_action:
      action: call-service
      service: input_number.set_value
      service_data:
        entity_id: input_number.bedroom2f_fan_target_speed
        value: "[[[ return variables.speed_value; ]]]"
  - type: custom:button-card
    entity: input_number.bedroom2f_fan_current_speed
    icon: mdi:numeric-4
    template: fan_speed_button
    variables:
      speed_value: 4
    tap_action:
      action: call-service
      service: input_number.set_value
      service_data:
        entity_id: input_number.bedroom2f_fan_target_speed
        value: "[[[ return variables.speed_value; ]]]"
  - type: custom:button-card
    entity: input_number.bedroom2f_fan_current_speed
    icon: mdi:numeric-5
    template: fan_speed_button
    variables:
      speed_value: 5
    tap_action:
      action: call-service
      service: input_number.set_value
      service_data:
        entity_id: input_number.bedroom2f_fan_target_speed
        value: "[[[ return variables.speed_value; ]]]"
  - type: custom:button-card
    entity: input_number.bedroom2f_fan_current_speed
    icon: mdi:numeric-6
    template: fan_speed_button
    variables:
      speed_value: 6
    tap_action:
      action: call-service
      service: input_number.set_value
      service_data:
        entity_id: input_number.bedroom2f_fan_target_speed
        value: "[[[ return variables.speed_value; ]]]"
  - type: custom:button-card
    entity: input_number.bedroom2f_fan_current_speed
    icon: mdi:numeric-7
    template: fan_speed_button
    variables:
      speed_value: 7
    tap_action:
      action: call-service
      service: input_number.set_value
      service_data:
        entity_id: input_number.bedroom2f_fan_target_speed
        value: "[[[ return variables.speed_value; ]]]"
做起來就像這樣(清爽風?),綠色底為「現在風速」,以下圖為例就是風速4。


